undefined
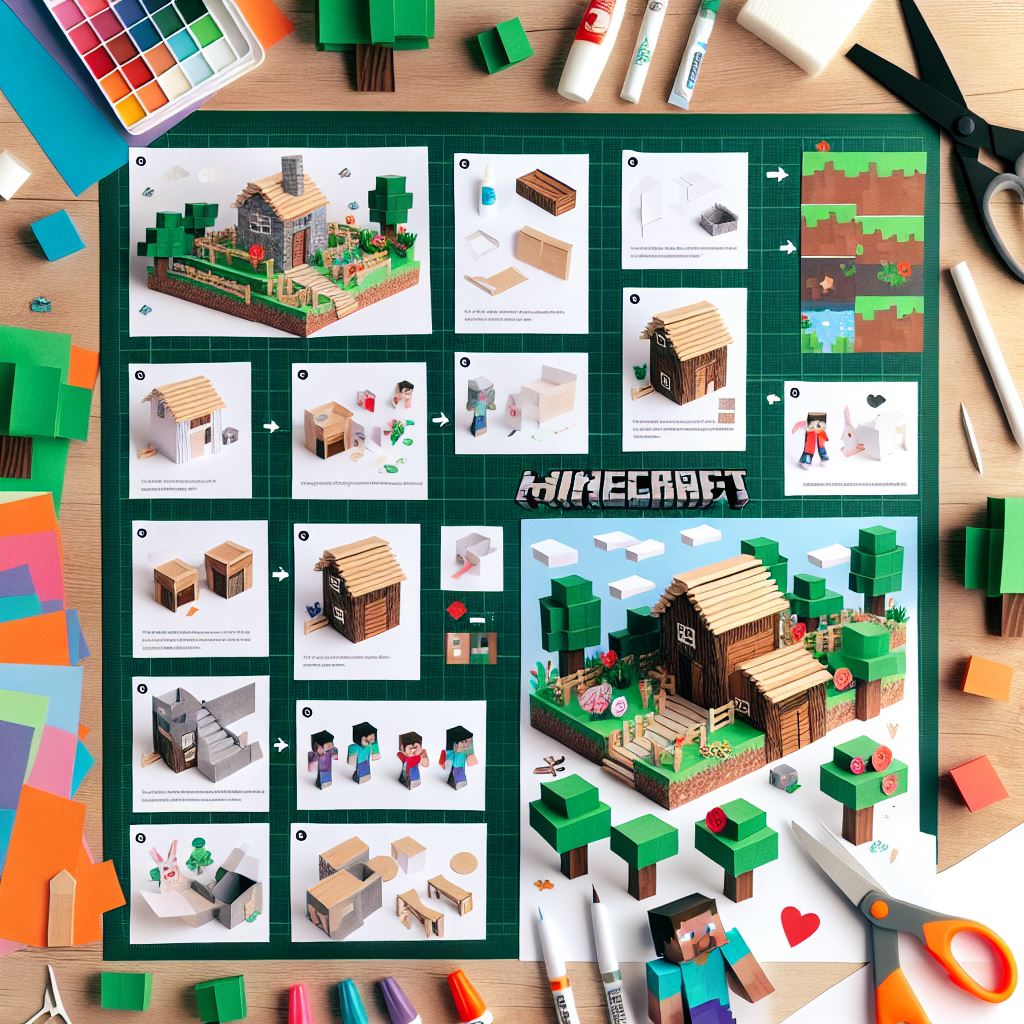
Step-by-step guide to creating a paper Minecraft village
Planning Phase
📋 Village Layout
Start by sketching your village layout on grid paper. Consider traditional Minecraft village designs with a central meeting point and surrounding buildings. Plan paths between structures and designate areas for different building types: houses, farms, wells, and specialized buildings.
📏 Scale Planning
Decide on your paper block size - typically 1-inch or 2-inch cubes work well for villages. Calculate the total space needed based on your layout. Remember to leave room for decoration and future expansion. Create a materials list based on your planned structures.
🎨 Design Elements
Choose a village biome theme (plains, desert, taiga, etc.) to maintain consistent architecture and color schemes. Plan decorative elements like lamp posts, fences, and vegetation. Consider creating multiple building styles while maintaining visual harmony.
Building Construction
🏠 Basic Houses
Begin with simple villager houses using basic blocks. Create templates for common elements like doors, windows, and roofs. Build in sections: foundation, walls, roof, and details. Use scoring tools for precise folds and strong adhesive for durable joints.
⛪ Special Buildings
Construct specialized structures like the blacksmith, church, or library. Pay attention to unique architectural features and interior details. Create removable roofs or walls to showcase interior furnishings and decorations.
🌾 Farming Areas
Design crop fields and animal pens using appropriate paper textures. Create water sources and irrigation systems. Add detail with paper craft vegetables, wheat, and farm animals. Include fencing and gates for authenticity.
Details and Assembly
🛠️ Infrastructure
Create paths using paper craft stone or gravel textures. Build bridges, steps, and platforms to connect different village levels. Add lighting elements like torches or lanterns at regular intervals. Design a central village bell and meeting area.
🎎 Village Life
Add paper craft villagers in various professions. Create workstations like crafting tables, brewing stands, and smithing tables. Include small details like item frames, flower pots, and village decorations. Position villagers to create scenes of daily life.
🏰 Final Assembly
Mount buildings on a sturdy base board. Create terrain variations using layered paper or foam board. Add final touches like trees, bushes, and custom signs. Consider creating a protective display case or cover to preserve your village.
Final Tips
Keep your paper village looking its best by regularly dusting with a soft brush. Store away from direct sunlight to prevent fading. Consider creating seasonal decorations to update your village throughout the year. Document your building process to share with the Minecraft community!